
みなさんこんにちは、ZeroTerasu(@ZeroTerasu)です。
今回は、PHPで使用されるパッケージ管理システムである「Composer」について概要を解説したいと思います。パッケージ管理システムについては、下記リンク先の記事もご参照頂けますと幸いです。

改めてパッケージ管理システムのメリットを記載すると下記の通りです。
1.インストール(アンインストール)をコマンドから自動で実行してくれる。
2.バージョン管理
3.ライブラリの依存関係の調整
Windowsでの「Composer」のインストール方法
以下は、XAMPPを用いて既にPHPがインストールされている前提で話を進めます。
1.Comporser 公式サイトからダウンロード

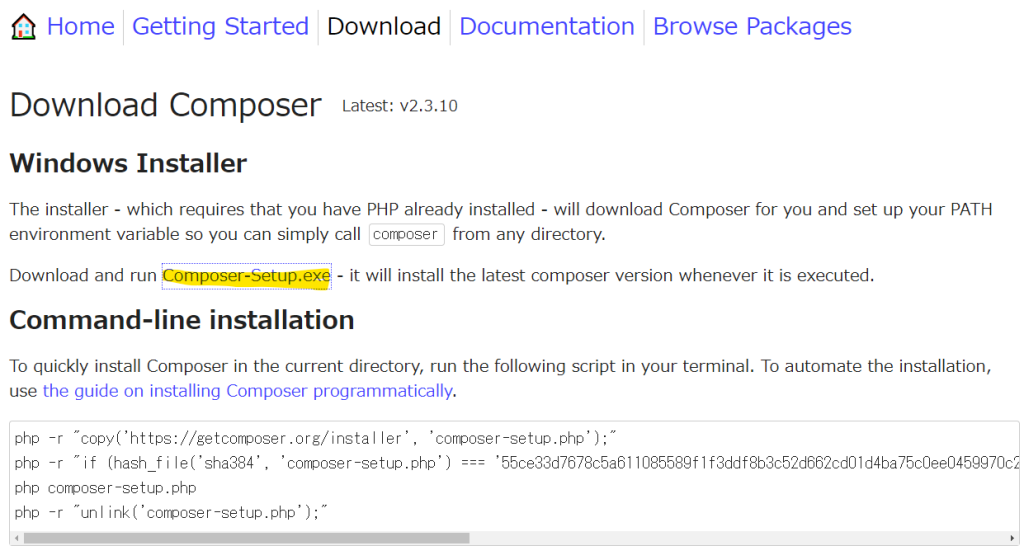
Composer-Setup.exe をクリックします。そうすると、自動的に「Composer-Setup.exe」がダウンロードフォルダにインストールされます。
2.Composer-Setup.exe起動
Composer-Setup.exeをダブルクリックします。

Install for me onlyをクリック
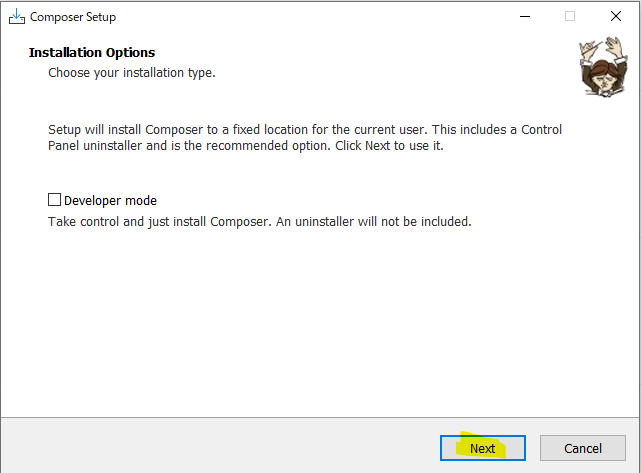
何も選択せずに、「Next」をクリック
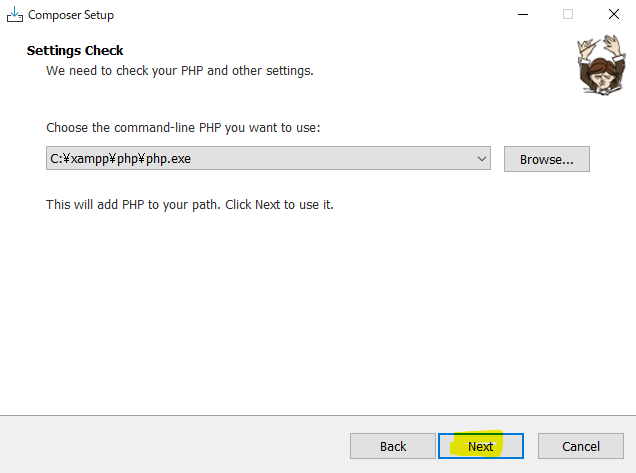
XAMPPでPHPがインストールされている場合、上記のようにXAMPP内のphp.exeのパスが表示されますので、このまま「Next」をクリックします。
仮に、上記のようにphp.exeのパスが表示されない場合は、「Browse…」をクリックして、手動でphp.exeを選択します。
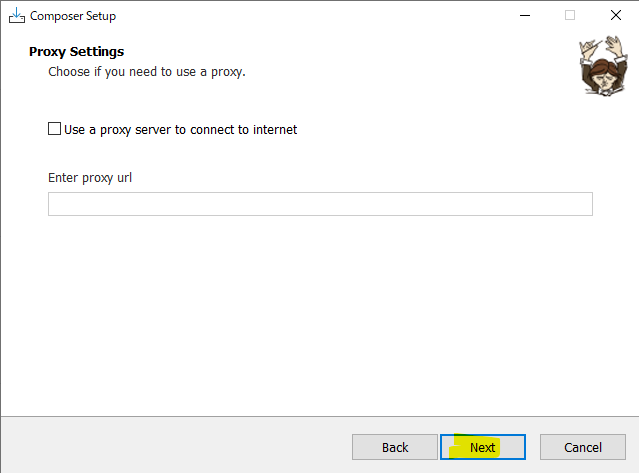
プロキシサーバー(代理サーバー)を経由する場合は、プロキシサーバーのURLを入力します。
通常は、プロキシサーバーは使用しませんので、「Next」をクリックします。
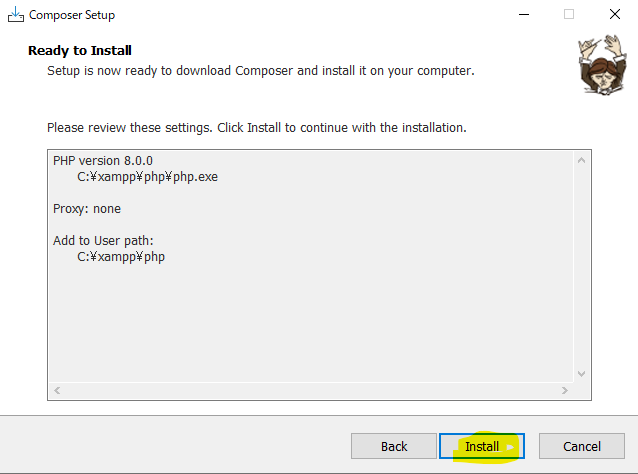
「Install」ボタンをクリックするとインストールが開始されます。
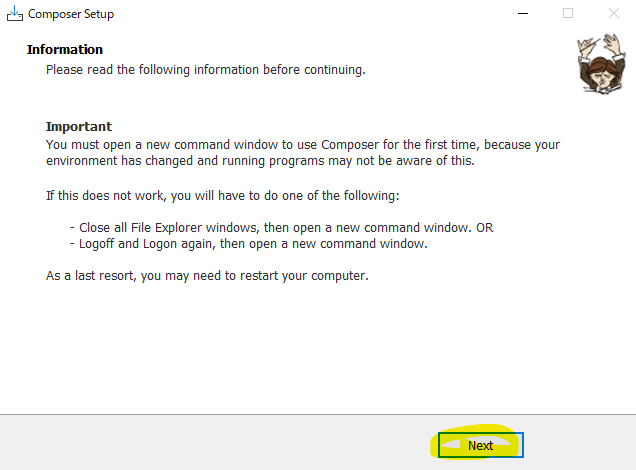
インストールが完了しました。次に、コマンド操作を要求されていますので、Windows Powershellまたはコマンドプロンプトを起動します。
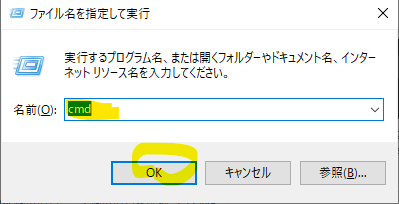
Windowsボタン+R で上記画面が表示されますので、「cmd」と入力し、OKをクリックするとコマンドプロンプトが起動します。
「composer」と入力して「Enter」キーを押してください。
下のように、Composerのバージョンやインストールした日時などが表示されれば完了です。
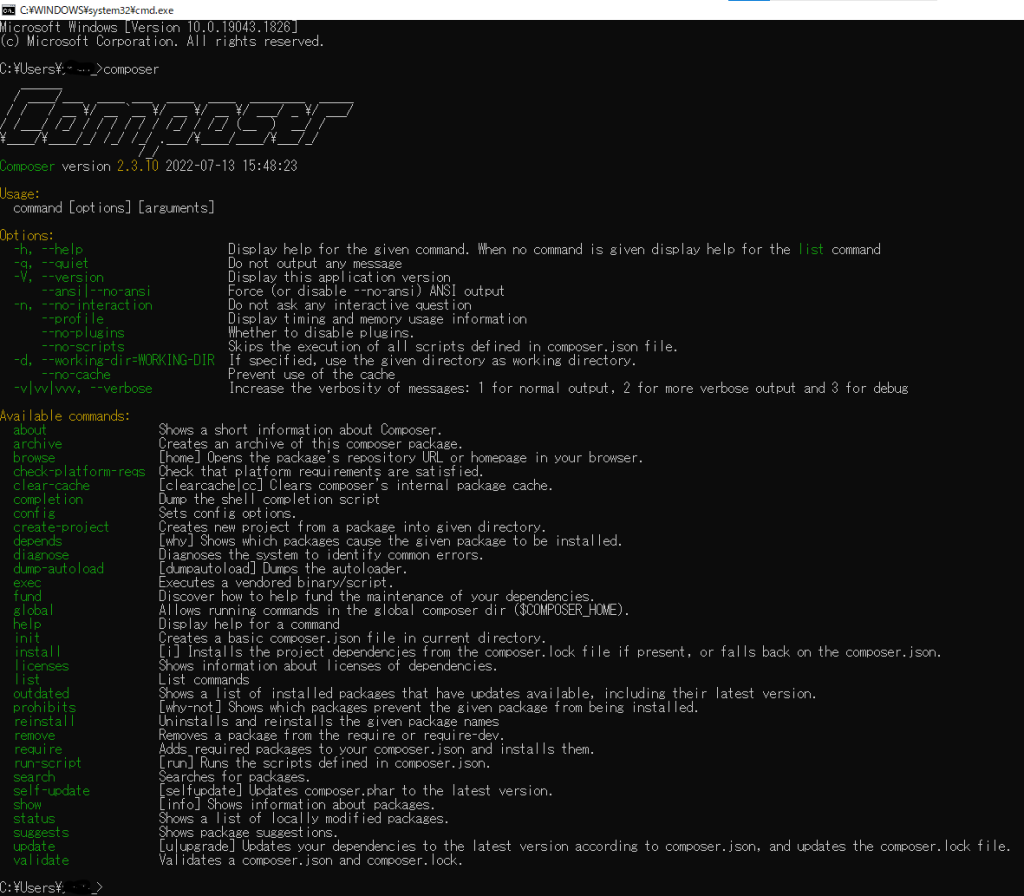
上記のようにバージョン情報が出力されたらインストール完了です。お疲れ様でした。
コメント